How To: Airbnb Photography
The photos of your Airbnb are one of the most important parts of your listing. As they say “photos are worth a thousand words.” This is especially true on Airbnb, where guests frequently don’t even read your content but will flip through all your photos. If you want to drastically improve the SEO of your Airbnb listing then you need to understand exactly how to capture the perfect photograph.
Our guide to Airbnb Photography will teach you:
- How to take the perfect photos for your Airbnb
- How to tell an amazing story with your photos
- What equipment you should be using
- How to stage and prepare your property pre-shoot
- How to communicate crucial information about your property
- Why high-quality photos matter to your bottom-line
The Basics of Real Estate Photography
Airbnb has a number of basic instructions that if followed will make your listing stand out from much of the competition.
- Guests want to have a great sense of your property before making a buying decision. Properties with more photos tend to have more bookings.
- Add a variety of photos that showcase the different rooms, amenities, exterior, and neighborhood of your property.
- Take multiple shots and choose multiple angles, this way you can pick the best of best!
- Only take high quality shots of at least 1024 x 683px.
- Airbnb only displays landscape photos in the search results therefore take a lot of landscape shots.
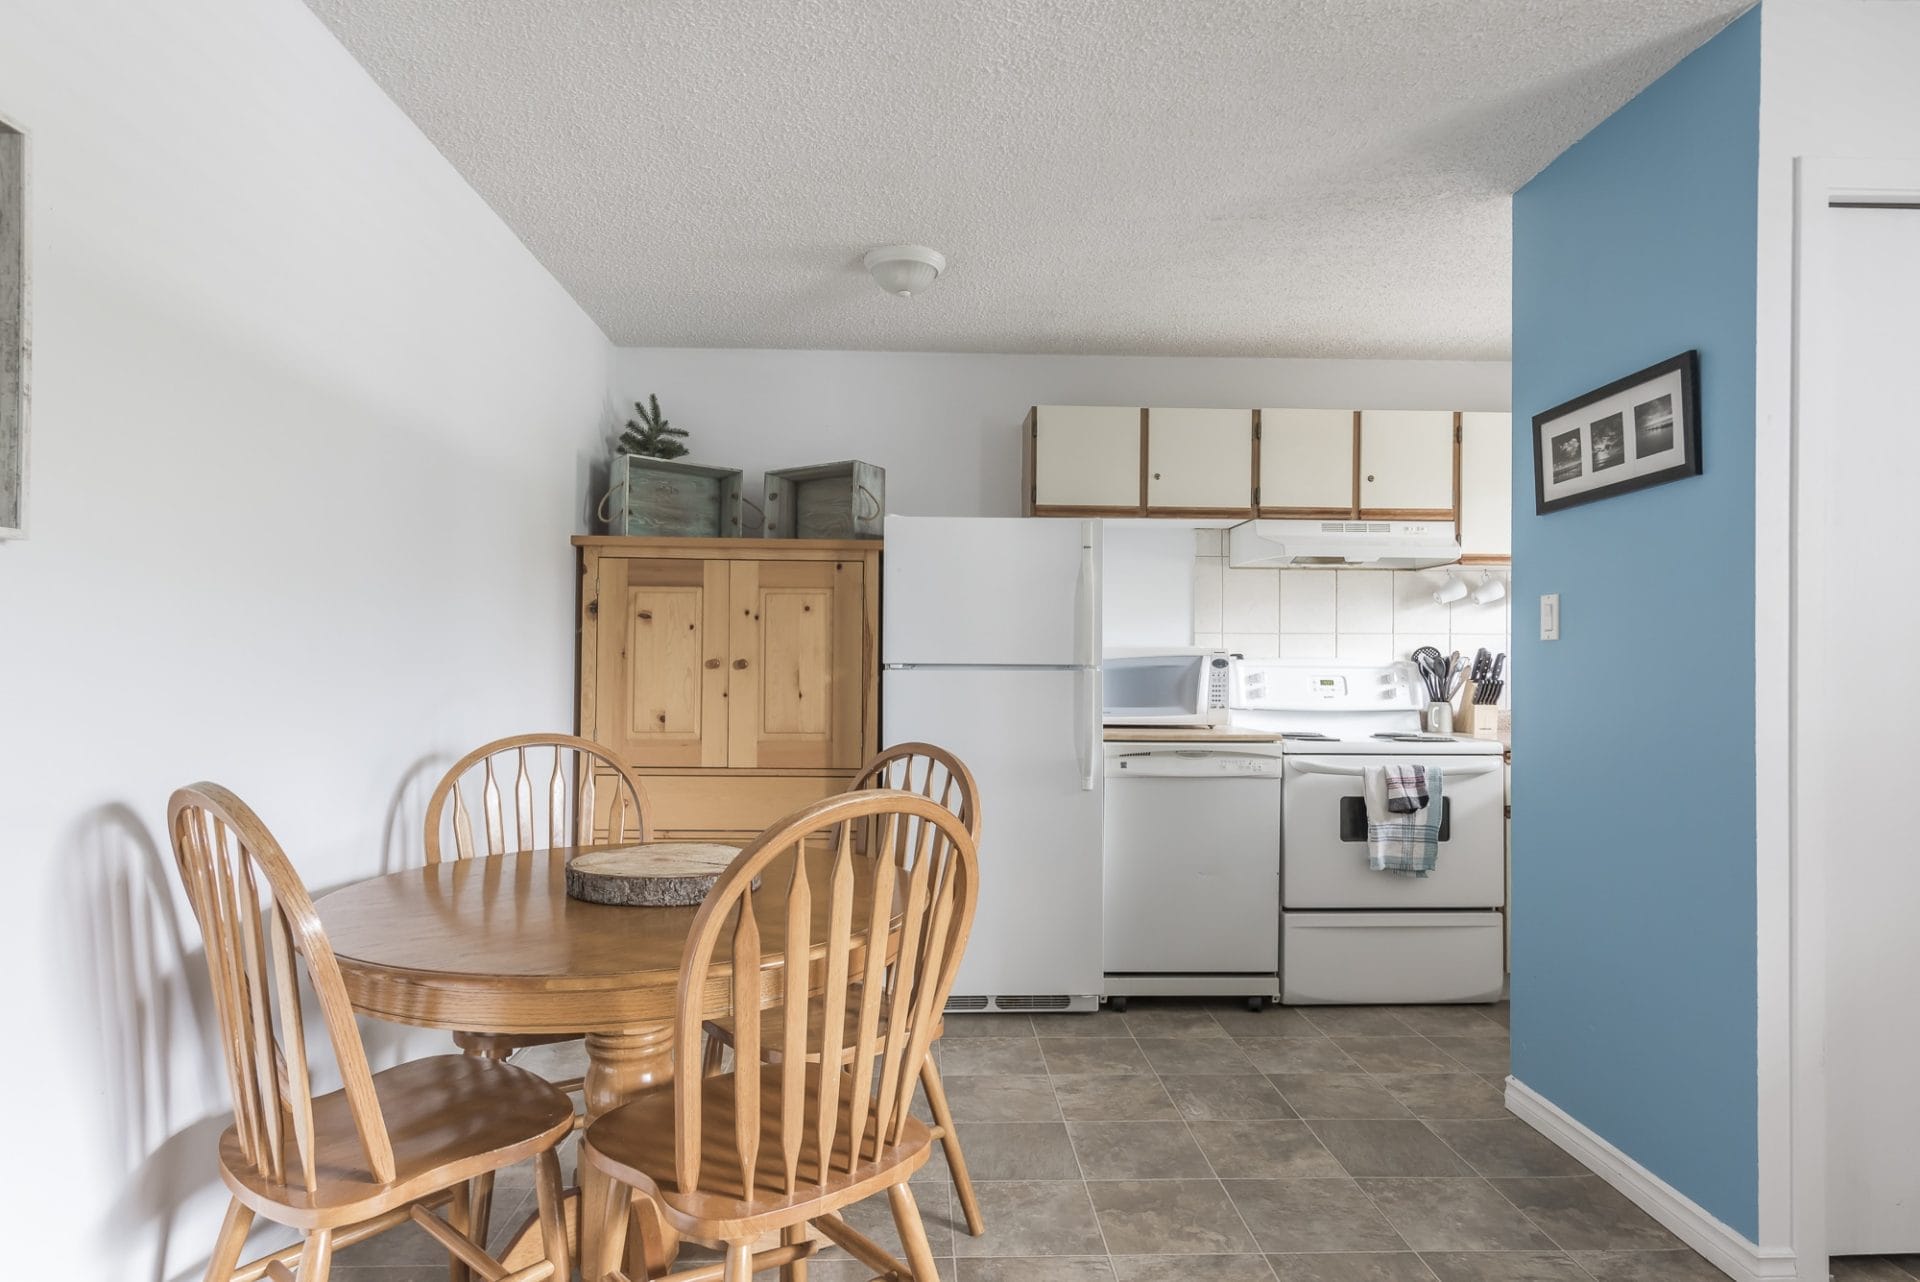
- Clean and declutter your spaces. Get your property looking its absolute best!
- Let the light in. Natural light is best so keep those windows open.
- Highlight the best features of your property. Unique amenities that make your property stand out should be featured and on display.
What You’ll Need to Capture your Vacation Property
If you intend on photographing your property yourself then you will need to invest in several important pieces of equipment. If budget is an issue you can go to your local camera shop and rent all of this equipment for a very affordable price.
1. DSLR Camera
High-end DSLR camera is an absolute must when even thinking about capturing your own airbnb photographs. The Airbnb algorithm is clever enough to identify low resolution images and will punish your rankings accordingly. A high-end DSLR camera will provide you with crystal clear images with high resolution. These types of high resolution images will provide prospective guests with a better understanding of your property, improve your Airbnb ranking, and increase your view-to-booking ratio.
If you really want to elevate your listing you should purchase, rent, or borrow a wide-angle lens. This type of lens will make your space feel bigger and more open. Every major camera brand offers wide-angle lenses in their product lineups.
3. Tripods
You will also need a sturdy tripod to shoot long exposures to avoid motion blur. Most tripods can be easily purchased on Amazon for a reasonable price. If you’re just starting out you do not need to overspend on this piece of equipment, but don’t underestimate its value to the overall quality of the image being captured.
Professional lighting can’t be understated. The difference between a good photo and great photo is often lighting. While you can try and get away with your home lighting, we strongly recommend using professional lighting gear to enhance your Airbnb photography.
Airbnb Pre-Shoot Checklist
You’ve got your gear and you’re ready to get started, but wait hold on! There is a lot of strategy and planning that goes into the pre-shoot. Start with preparing your space, removing clutter, and showcasing your vacation property in it’s best light possible. Use our Airbnb Pre-Shoot Checklist as a guide to the staging and preparation of your vacation rental. In Airbnb bad photos mean lost revenue, so it’s important to get this right.
Exterior Pre-Shoot Checklist
- Place trash cans and anything that is not attached to the property out of site.
- Organize deck furniture, uncover grill, open patio umbrella, etc.
- Sweep or pressure wash driveway if necessary.
- Make sure yard is free of kid’s toys, evidence of pets, unnecessary clutter etc.
Interior Pre-Shoot Checklist
- Replace any burnt lightbulbs and ensure all bulbs are the same color temperature.
- Remove as much clutter as possible.
- Put away unsightly door mats.
- Open up blinds and remove any fixed window coverings that block natural light.
- Turn off all TVs, computer screens, and ceiling fans.
- Conceal power cords; unplug them if necessary (except lights).
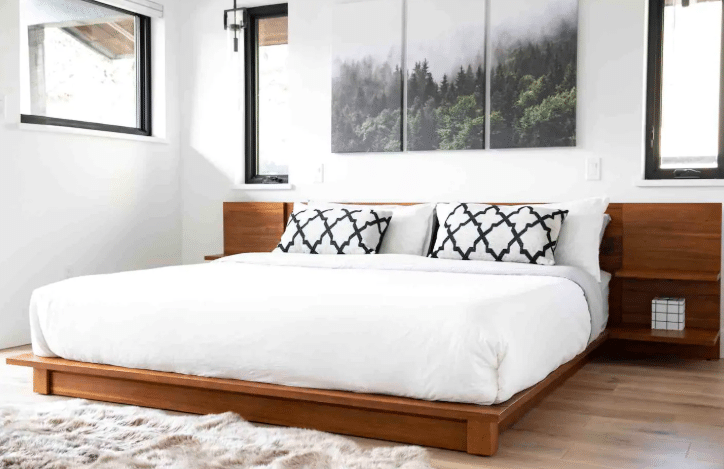
- Make beds, straighten picture frames/artwork, organize pillows, etc.
- Remove all possible wrinkles on the fabrics.
- Avoid hiding items under beds or furniture.
Kitchen Pre-Shoot Checklist
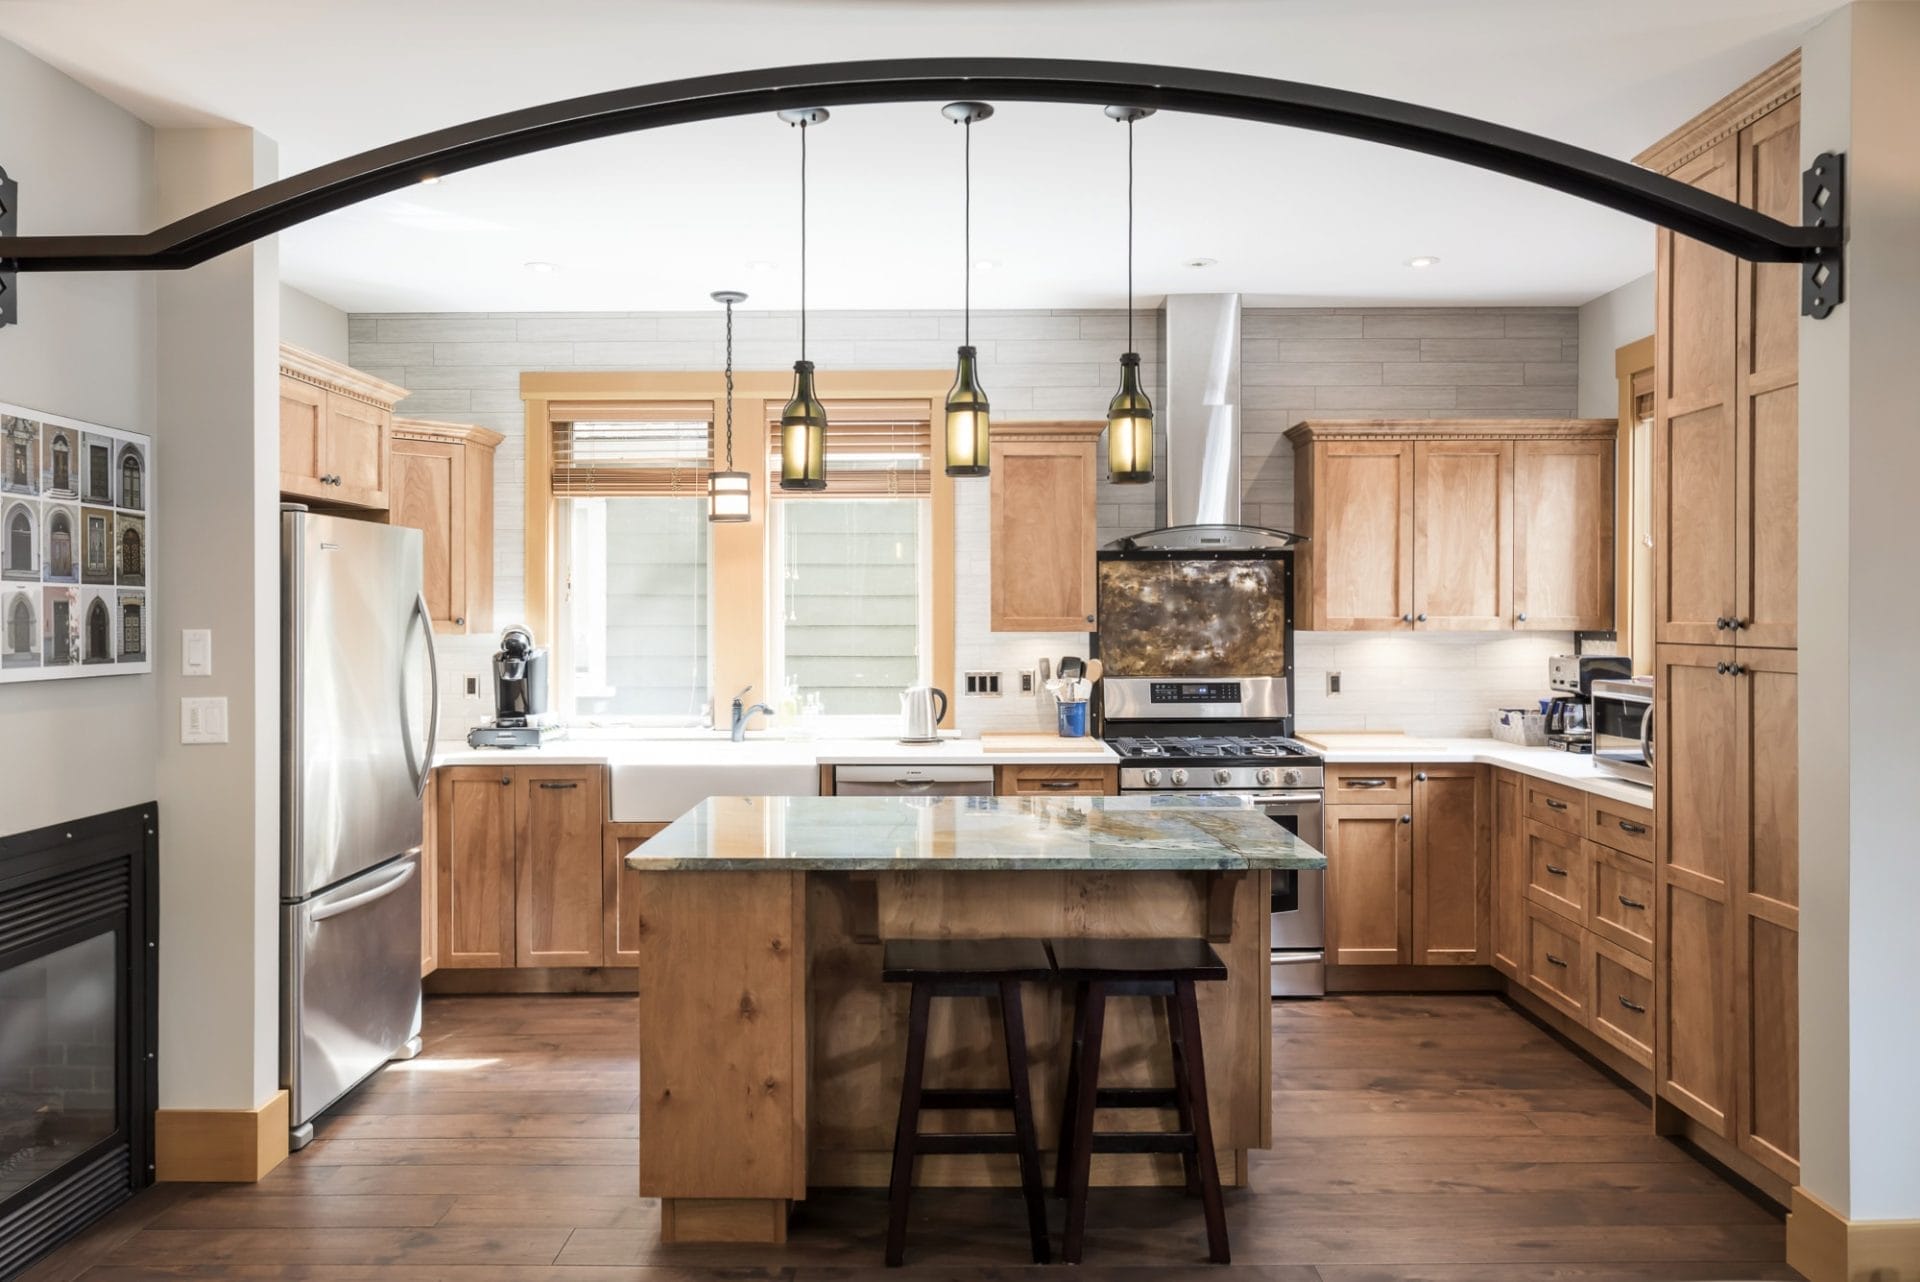
- Clear all counter tops – A few small appliances are okay.
- Clear the fridge completely – Remove all magnets, photos, lists, etc.
- Clean appliances – Be sure to remove all fingerprints, smudges, etc.
- Put trash can away.
- Put away dish soap, cloths, etc.
- Straighten bar stools and table chairs.
Bathroom Pre-Shoot Checklist
- Put toilet lids down.
- Place a fresh roll of toilet paper on the holder.
- Remove toilet brush and trash can.
Taking the Perfect Photograph for your Airbnb
You’ve got all the needed equipment and you’ve staged the place, now is the time to take photos! However take a minute to think about your space and the story you want to tell. In order to capture the perfect photograph for your Airbnb listing you will need to carefully execute each of the following photography tips. By doing so you will be better positioned for the photo editing portion of the process.
- Declutter the entire property. Clutter makes spaces feel smaller and people immediately think the place is of a lesser quality.
- Stage the property. If you’re launching an Airbnb then you should already have the couches, beds, and decorative pieces needed for staging.
- Lights on or lights off? Determine whether the interior lighting will add to the photo you’re trying to capture or harm it.
- Open the blinds. Blinds prevent natural light and in real estate photography natural light is the best form of lighting.
- Bounce light off the walls. Do not point your flash directly at the space you’re about to shoot. By doing this you will cause a vignette effect and ruin the quality of the image.
- Set up light stands. Using light stands, bounce the light off the walls to create an even and natural lighting effect. This will brighten the room and create clear and natural photos.
- Shoot with landscape. Our brains find it easier to process a horizontal, or landscape, view. Airbnb knows this and prioritizes landscape photographs.
- Capture the best feature. Before photographing a room ask yourself, “what is the BEST feature in this shot?”. Make sure you focus attention on the best of each room.
- Add some color. Try and add some color to each shot. Do you have a bright colored pillow you could add to the couch? What about a colored blanket on the bed?
- Aim for accuracy. In this business, reviews are everything and if your photos do not accurately reflect the condition of the listing, your reviews will suffer.
Editing & Selection
The Airbnb platform has very basic photo editing capabilities, but it is not enough to make your listing really stand out. For the best results you should purchase and learn to use professional editing software.
Adobe Photoshop
Adobe is the premier photo editing tool used by the majority of professional real estate photographers. With Photoshop you’ll be able to edit the blemishes, lighting, and any other issues found in your photos.
Tips for Editing your Airbnb Photographs
- Choose the best 20-40 photographs that accurately reflect your property.
- Crop the photos to narrow in on the feature you want to stand out. Do not overcrop the shot and always maintain a horizontal view.
- Adjust the brightness to make your images appear clean and well lit.
- Increase the saturation of your photos so the image appears more colorful and bright.
- High contrast photos will make the space pop.
Photo Order for your Airbnb Property
On the search results Airbnb displays your first photo aka your Hero Image. Choose a photo that truly captures the best of your property. This photo should be so stunning that it stops people in their search. It should accurately reflect the property, but don’t be afraid of “overselling” the property in this first image.
Airbnb also has a gallery view for your first 5 photos. These five images need to be carefully selected to provide the prospective guest with a visually appealing representation of the property. Highlight the best features about your property and neighbourhood. We like to always add a location shot in the gallery to break up the room shots.
Ask yourself, “what are the main 3-5 features of this property?”, try your best to include those features in the initial collage so people immediately see the benefits of booking your Airbnb property.
The order of your photo gallery should tell a story. How will guests feel when they walk in the doors of your property? Where are the bedrooms and what is the flow of the kitchen like? Be descriptive and informative with each photo. Make sure to include photos that answer guest questions such as is there parking? Is the couch a pull out? Is there cooking supplies available?
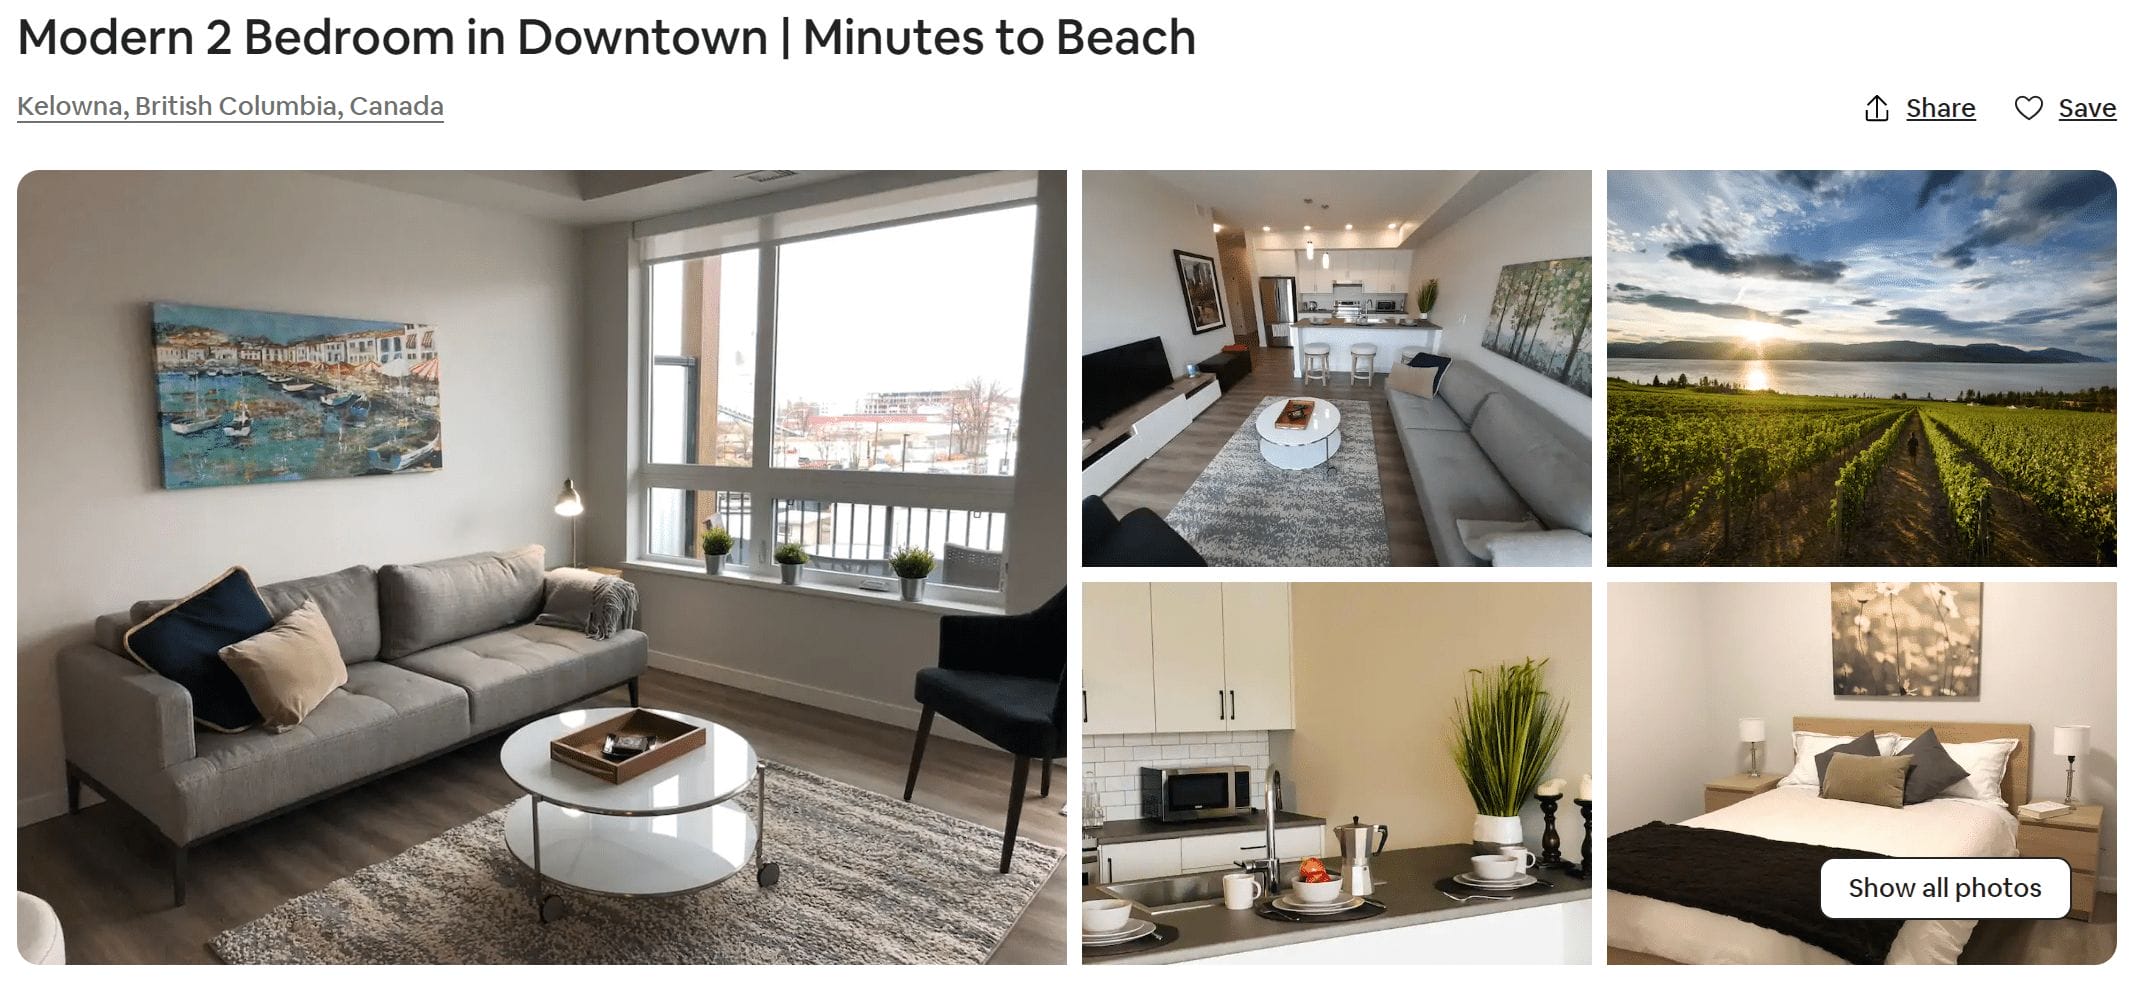
Airbnb Photo Organization
Helping guests understand the flow of your property is important. Guests want to get an understanding of what your space is like, where everything is, and how they can use the space. Keep your photos organized! It’s extremely confusing when you spread you photos randomly with no logic. Instead keep distinct sections such as living room, kitchen, master bedroom, second bedroom, bathroom, exterior, etc. This avoids guest confusion.
However as we’ve mentioned your first 5 photos are special, they are part of your property gallery so they ignore the need for organization. Keep your first five photos as a summary of the best parts of your property. Then start organizing photos by space as use.
Organize your groupings with the best parts of your property first. As an example if your kitchen is the real standout make it among the first photos guests see. Then move space to space to showcase each section of your vacation property. Finally add your utility type photos to the end, these include unexciting photos like the laundry room, garage, second bathrooms, or exterior street views.
Airbnb has features that help with the organization of photos, use this tool to group your photos based on room.
Airbnb Photo Captions
In order to really maximize your dollars invested in professional photographs you need to optimize each image. When uploading photos to your listing, Airbnb will give you the option of writing a few sentences underneath each image. Image captions are incredibly important Airbnb ranking factors and also help the blind or visually impaired book your property.
Keep your caption short and descriptive. Do not add walls of texts in the captions section!
Using a Professional Real Estate Photographer
Oftentimes the best solution is to use the professionals! This is frequently the case in photography since the right equipment and skills makes a world of difference. Professional equipment and photo editing skills can really step up the quality of your property. Lifty Life Hospitality hires professional real estate photographers for many of our properties and the results have been amazing!
The costs of investing in a professional Airbnb photographer is much less than the cost of poor quality photos. But, whether you hire a pro, or capture these photos yourself, make sure you do everything you can to take the perfect photographs for your Airbnb property.

